Managing diabetes is a crucial aspect of maintaining overall health and well-being. One of the most effective ways to keep your blood sugar levels in check is by setting up a home glucose monitoring system. This guide will walk you through the essential steps to establish an efficient and reliable monitoring system at home. By understanding the importance of regular glucose monitoring, you can take proactive measures to manage your diabetes effectively. This not only helps in preventing complications but also empowers you to make informed decisions regarding your diet and lifestyle. In this article, we will cover everything from selecting the right glucose meter to interpreting your results, ensuring you have all the information you need to monitor your health confidently. Whether you are newly diagnosed or have been managing your condition for years, our easy-to-follow steps will simplify the process, making it accessible for everyone. Let’s dive into the essentials of setting up your home glucose monitoring system!
Choosing the Right Glucose Meter
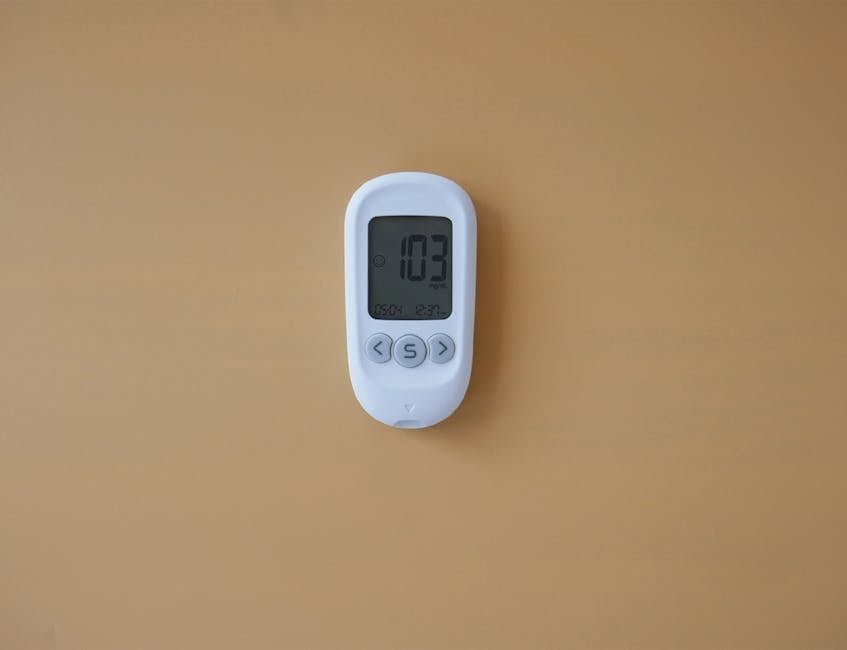
The first step in setting up your home glucose monitoring system is selecting the right glucose meter. There are numerous brands and models available on the market, each offering a unique set of features. When choosing a glucose meter, consider factors such as accuracy, ease of use, and the availability of test strips. Some meters require a smaller blood sample, while others may offer advanced features like Bluetooth connectivity for data tracking. It’s also important to check if the meter is FDA-approved and has good reviews from users. Consulting with your healthcare provider can provide personalized recommendations based on your specific needs and lifestyle. By investing time in selecting the right glucose meter, you’ll ensure a smoother and more effective monitoring experience.
Gathering Necessary Supplies
Once you’ve chosen a glucose meter, the next step is to gather all the necessary supplies for your home glucose monitoring system. Apart from the glucose meter itself, you’ll need test strips, a lancing device, and lancets. Test strips are crucial as they contain the chemicals that react with your blood sample to provide a glucose reading. Each meter is compatible with specific test strips, so ensure you purchase the correct ones. A lancing device is used to obtain a blood sample, and it typically comes with a variety of lancets for easier blood collection. Additionally, consider keeping alcohol wipes, a sharps container for disposing of used lancets, and a logbook or digital app for tracking your readings. Having all these supplies on hand will make monitoring your glucose levels more efficient and organized.

Setting Up Your Monitoring Area
Creating a dedicated monitoring area in your home can enhance your glucose monitoring experience. Choose a clean, quiet, and well-lit space where you can comfortably perform your tests without distractions. Make sure the area is stocked with all your supplies, including your glucose meter, test strips, lancing device, and any additional items you might need. Having a designated space not only simplifies the process but also helps you establish a routine. Consider using a small table or a drawer where you can keep everything organized. Additionally, it’s important to ensure that the area is at room temperature, as extreme temperatures can affect the accuracy of the glucose meter and test strips. By setting up a comfortable and efficient monitoring area, you will be more likely to adhere to your testing schedule.
Understanding the Testing Process
Understanding the testing process is key to effectively using your home glucose monitoring system. Before testing, wash your hands thoroughly with soap and water to avoid contamination. If you prefer, you can use an alcohol wipe, but ensure that your hands are dry before proceeding. Next, insert a test strip into your glucose meter and prepare your lancing device by setting it to the appropriate depth for your skin type. Once ready, use the lancing device to prick the side of your fingertip and obtain a small blood sample. Gently touch the blood drop to the test strip, and wait for the meter to display your glucose reading. This process usually takes just a few seconds. After testing, remember to dispose of the used lancet and record your results in your logbook or app for future reference. Understanding and mastering this process will make your monitoring routine seamless and efficient.

Interpreting Your Results
Interpreting your glucose results is crucial for effective diabetes management. Blood glucose levels can fluctuate throughout the day, depending on various factors such as food intake, physical activity, and stress. Generally, fasting blood glucose levels should be between 70 and 130 mg/dL, while post-meal readings should be less than 180 mg/dL. However, these ranges may vary based on individual health goals, so it’s important to consult your healthcare provider for personalized targets. Once you have your readings, look for patterns over time to identify any spikes or drops in glucose levels. Keeping a detailed log of your results, along with notes on diet and activities, can help you and your healthcare team make informed decisions about your treatment plan. Recognizing these patterns can lead to better management strategies and improved overall health.
Establishing a Testing Routine
Establishing a consistent testing routine is essential for effective glucose management. Depending on your diabetes type and treatment plan, your healthcare provider may recommend specific times for testing, such as before meals, after meals, or at bedtime. It’s crucial to adhere to this schedule to gain a comprehensive understanding of how your lifestyle factors influence your glucose levels. Consider using reminders or alarms on your phone to help you remember testing times. Additionally, keep track of your results in a dedicated logbook or an app, which can assist you in recognizing trends over time. By creating a structured routine, you will be better equipped to manage your diabetes and make necessary adjustments to your diet or treatment plan as needed.
Consulting with Healthcare Providers
Regular consultations with healthcare providers are an integral part of managing your diabetes effectively. Once you have set up your home glucose monitoring system and established a routine, schedule periodic check-ins with your doctor or diabetes educator. During these appointments, share your logged glucose readings, discuss any challenges you’re facing, and seek advice on improving your monitoring and management strategies. Your healthcare provider can help you interpret your results in the context of your overall health and make necessary adjustments to your treatment plan. Additionally, they can provide guidance on dietary recommendations, exercise regimens, and new technologies that may enhance your monitoring experience. Building a strong partnership with your healthcare team is essential for achieving long-term success in managing your diabetes.
Conclusion
Setting up a home glucose monitoring system is an empowering step towards managing diabetes effectively. By following these easy steps, you can create a routine that works for you, ensuring that you stay informed about your blood sugar levels. Remember that choosing the right glucose meter, gathering necessary supplies, and establishing a comfortable testing area are all critical components of this process. As you become more familiar with testing and interpreting your results, you will gain greater confidence in managing your health. Regular consultations with your healthcare provider will further enhance your monitoring system, allowing for personalized adjustments to your treatment plan. With dedication and the right tools, you can take control of your diabetes and lead a healthier, more fulfilling life.